 Cornrows are braids that lay flat along the head. They are similar to French braids except that they are braided using an underhand technique, more like a Dutch braid. Unlike Dutch braids or French braids though, they’re done along narrow sections of parted hair.
In some cultures, they are symbolic of order, agriculture, civilization, and strong family ties. When you see a woman with elaborate cornrows in Africa, it means that she is very cared for in her family. It is unknown when exactly they were invented, but it was probably pretty early in human history since flat braids are seen in almost every culture in the world. They just weren’t as popular in most places where people had straighter hair with a thicker, more slippery cuticle layer. They are the standard in most African cultures that allow women to grow their hair.
In most African cultures, they’re considered a women’s hairstyle, but nowadays it’s more acceptable in some places for men to wear them.
In the United States, many people of African descent abandoned natural hairstyles. Some prefer to wear their hair pressed with hot combs or chemically “relaxed”, but some are forced to because of discriminatory work or school requirements. There was a resurgence during the 1960’s with the Black is Beautiful movement, and then a greater trend that spanned across ethnicities starting in the 1990’s with the grunge movement. It is now not so unusual to see people of all ethnicities wearing cornrows, dreadlocks, or other African hairstyles.
For one of the world’s oldest hairstyles, cornrows have been very controversial lately. Some schools, sectors of government, and companies have tried to ban them for students or employees. In the United States, supposedly a country priding itself in religious freedom and ethnic/racial equality, it is impossible to be a licensed braider in most states, even those that have laws that braiders must be licensed.
Despite the opposition and the controversy, cornrows are here to stay. Many people of varying ethnicities are wearing cornrows, dreadlocks, and braids now, and so many hair stylists learning the art. Yulia Tymoshenko, the former prime minister of Ukraine wore a traditional braided style as her signature look. Malia Obama, daughter of former U.S. President Barack Obama, sometimes wears her hair natural with braids or cornrows.
How to Do Cornrows
In action, it should look something line this:
 First, plan your style. Think about what kind of a pattern you want the braids to be in. As a beginner, start with simple patterns like straight front to back, or the “sunray” design where they all start at one point on the hairline and radiate outwards.
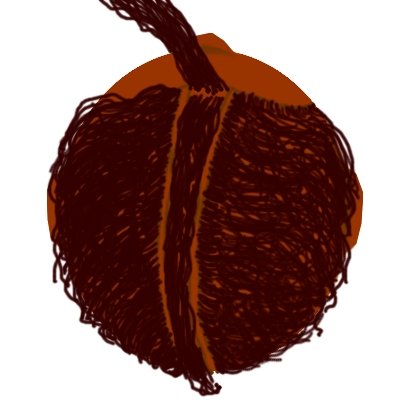
Once you’ve planned your style, part the hair so that you can focus on the first track. Do not try to part out the whole pattern at the start. Focus on the first one, which is called the guide braid. For a straight front to back style, this will probably be at the center of the head. Secure the rest of the hair away with a rubber band or hair clip so it stays out of the way.
Remember, do your parting with a rat tail comb, or the top prong of a regular comb or pick . A rat tail comb tends to work best though.
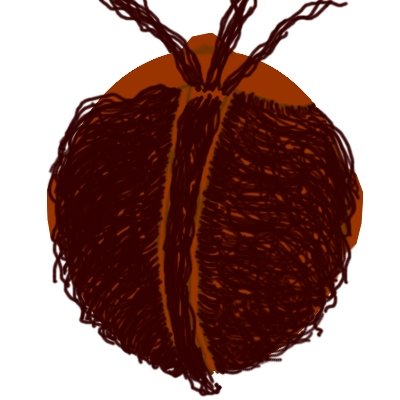
Once you have your first potential row in front of you and ready to braid, take some hair from the beginning of this row.
 This should be the minimum amount you need to braid comfortably. A common mistake is to start out with too much hair. Starting with too much makes it look messy, and adds too much tension to the hairline or whatever place on the head the cornrow originates.
 Now, divide this into three strands, and prepare to do an underhand individual braid stitch.
 By underhand, we mean that the cycle of the braid is accomplished by twisting the strands under one another.
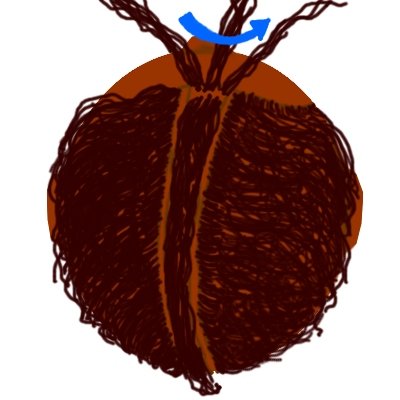
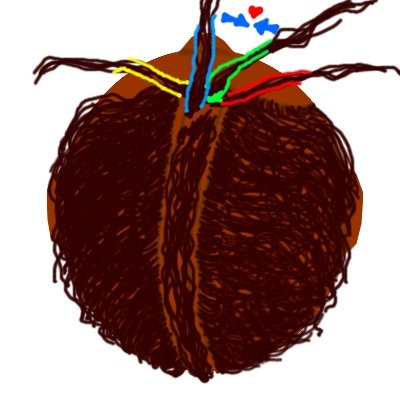
Bring the current left strand under the current middle strand, but between it and the right strand, so that it becomes the middle strand.
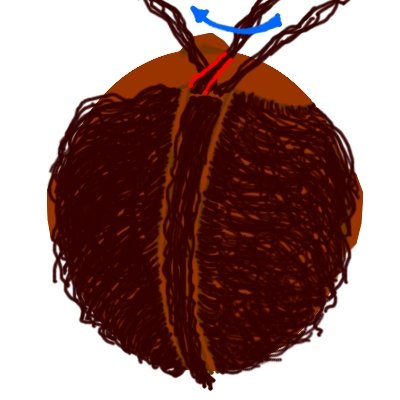 Now, bring the current right strand under the current middle strand, between it at the current left strand.
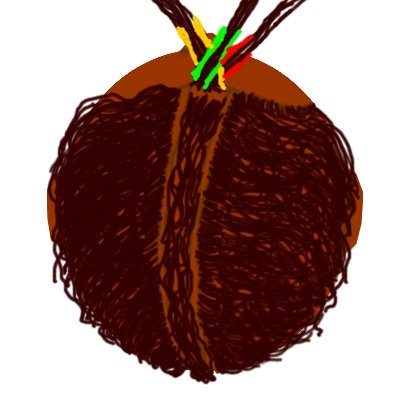
 Once again, bring the current left strand under the current middle strand, between it at the current right strand.
 You have now completed one individual braid cycle, so now it’s time for the cornrowing to begin.
 Bring the strands more towards yourself. It is best to start with two in one hand, and one in the other, and to pass the strands back and forth between your fingers. Because you will be working with the hair close to the scalp, it is best to keep your nails short.
You are going to be pulling hair from farther down the row, into the braid, so be prepared that you are always going to be reaching for new hair under where your braid is.
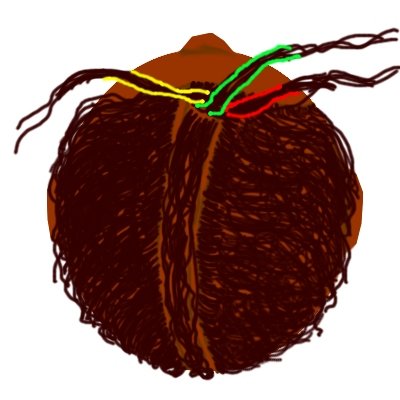
 Take some of the loose hair from just under where your braid is. To avoid confusion, it’s easiest to take a kind of triangular wedged part of it, using your pointer finger with a “dipping” motion, or your pointer and thumb to pinch a little.
This new hair is going to be joined with the middle strand.
 Join the new hair with the middle strand. Then prepare to continue the braiding cycle.
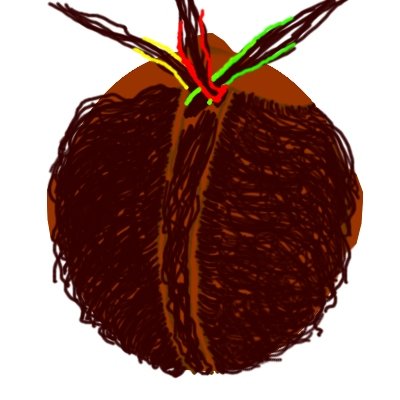 Bring the right strand under the middle strand, thus making it the new middle strand.
 Take some loose hair from just under where your braid is.
 Join this hair to the new middle strand.
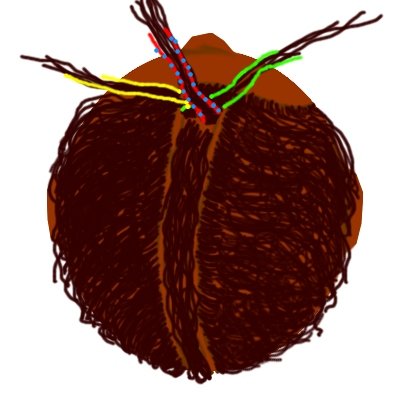
 Bring the left strand under, to the middle.
 Take some hair from just under where the braid is, and join it to the new middle.
Continue until you run out of new hair, and then do a normal braid until the end.
I hope these instructions are helpful. If you’ve seen them before without me attached or instructing, it’s because a lot of my content was stolen and repackaged. You can help to undo some of this damage by donating.
Thank you!

© 2006 Nicole T. Lasher